I want to share the steps which I performed to setup developer environment by just using a browser to start contributing to Meshery codebase in minutes. I am using GitHub Codespaces and Minikube for this.
After forking the main Meshery repo, start a Codespace(8 core) for it from the GitHub repository page.
In the codespace terminal, go to the parent folder(of the current folder) called workspaces and start the Minikube cluster: minikube start --cpus 4 --memory 8192 --kubernetes-version=v1.16.1
Connect the Meshery server and your kubernetes cluster using these two commands: docker network connect bridge meshery_meshery_1 docker network connect minikube meshery_meshery_1
To allow Meshery to auto detect your config file, Run: kubectl config view --minify --flatten > config_minikube.yaml
A config_minikube.yaml file will be created in the workspaces folder.
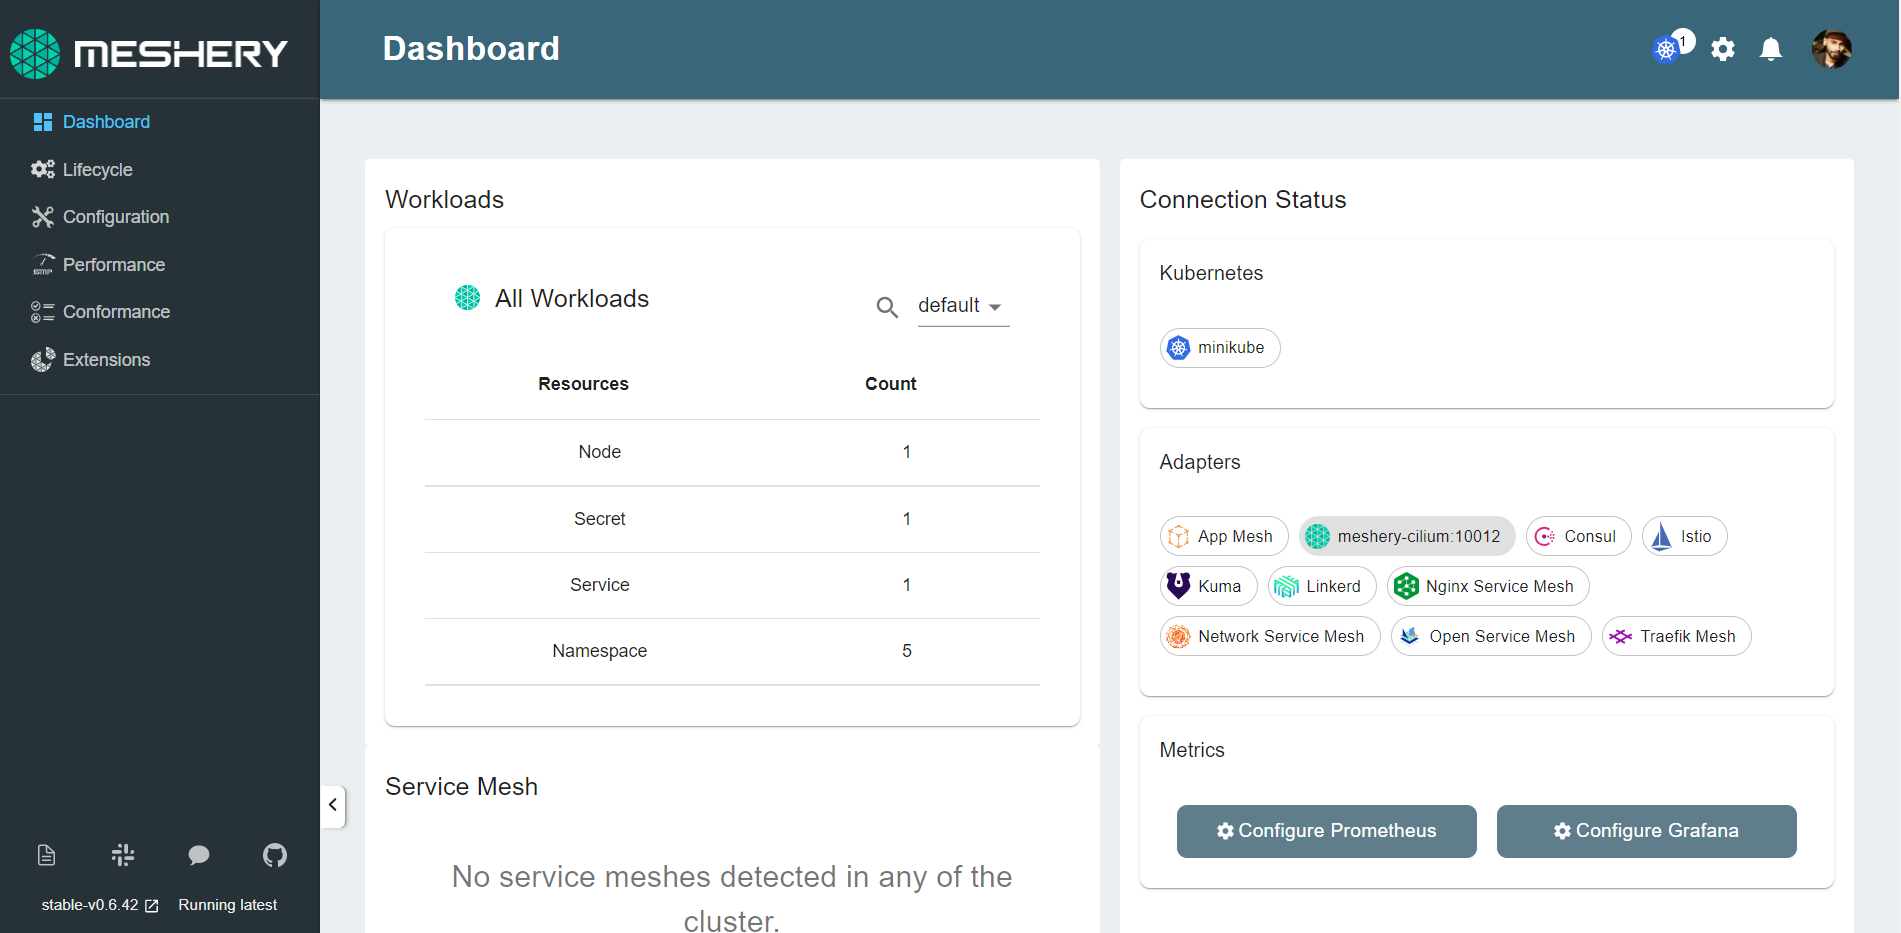
Now the Meshery UI server will be available on a port provided by Codespaces. and you can check that Meshery will be connected to your Minikube kubernetes cluster.
Follow the steps mentioned on this GitHub page to install required dependencies and start the UI development server.
You’ll notice that this UI development server is unable to detect the already logged in user(and your kubernetes cluster) and shows a proxy error in Meshery UI. We can fix this by changing the target variable in ui_dev_server.js file in both ui & provider_ui directory with the value of port on which our Meshery server is running(available from step 8). This will remove the proxy error from the UI development server(http://localhost:3000).
Now, you are ready to contribute to the Meshery project right from your browser or you can also open it in the installed VS Code.
With Github Codespaces software developers can set up their cloud developer environment in minutes and begin playing with the code without worrying about the system requirements of their local machine. Codespaces gives us a fresh VM every time we start a new Codespace on a GitHub repo. Minikube comes pre-installed in the VM which will come in handy while working on Meshery in Codespace. Installations of any dependencies required to run the project happen only once and the resulting dev environment can be started in a matter of seconds anytime after that as the Codespace remembers and stores your files on the cloud. This plug-and-play kind of feature gives the developers a great option to start contributing to Meshery as they can make changes to code and run various commands like make server and make ui to build Meshery and reflect the changes live in a browser. It is possible as Codespaces does port forwarding allowing you to deploy and serve your project from within the running container. We saw this above in the post too.
We can customize the GitHub Codespaces so that all the users of the same project can quickly set up their containers by installing only the required resources without any junk(with fine-grained control down to the choice of the extensions). We can add one or more dev container configurations for our repository that allows us to define a choice of different development environments that are appropriate for the work people will do in your repository.
And, we can connect to a Codespace from the browser or locally using Visual Studio Code and also feel home by using settings sync feature.
Thus we can view Codespaces as a quick portable solution to facilitate coding on a project without being dependent on the local machine’s resources.